


The following is the first draft of Chapter 1 of How to Train your Chatbot, a developer-centric book I’m writing in public. Subscribe to get all chapters in your inbox, as they come out, for free.
In this first chapter we will build a bare-bones conversational application–a chatbot–that is capable of maintaining a coherent conversation with a single user. We will learn how to connect with an LLM provider, pass messages, and stream the responses back.
In this chapter we won’t use any additional libraries beyond the Python OpenAI wrapper to communicate with an LLM backend. This is on purpose, so we understand the whole lifecycle of a typical conversation.
Then, in the next chapter, we will redo the core logic using ARGO to simplify the chat management and introduce some modularization, and we will add a database to store conversations and make our interactions persistent.
The whole source for this chapter (and this entire book) can be found in this Github repository. This specific chapter is in the basic.py file.
Setting up the environment
The first step is to setup a development environment. At the moment, the community preferred way of doing this with Python is using a package and virtual environment manager, and by far the best in the world is uv. So let’s begin by installing thatl, and once ready, just run:
mkdir chatbot # or whichever folder name you prefer
cd chatbot
uv init .
This will create a pyproject.toml file in the chatbot folder. Now let’s add streamlit and openai.
uv add streamlit openaiAfter a few seconds downloading the necessary packages, you will be ready to start coding.
Get the source code
The complete source code for this book is available in Github with an MIT license. Feel free to fork it and use it as you see fit.
The basic chatbot
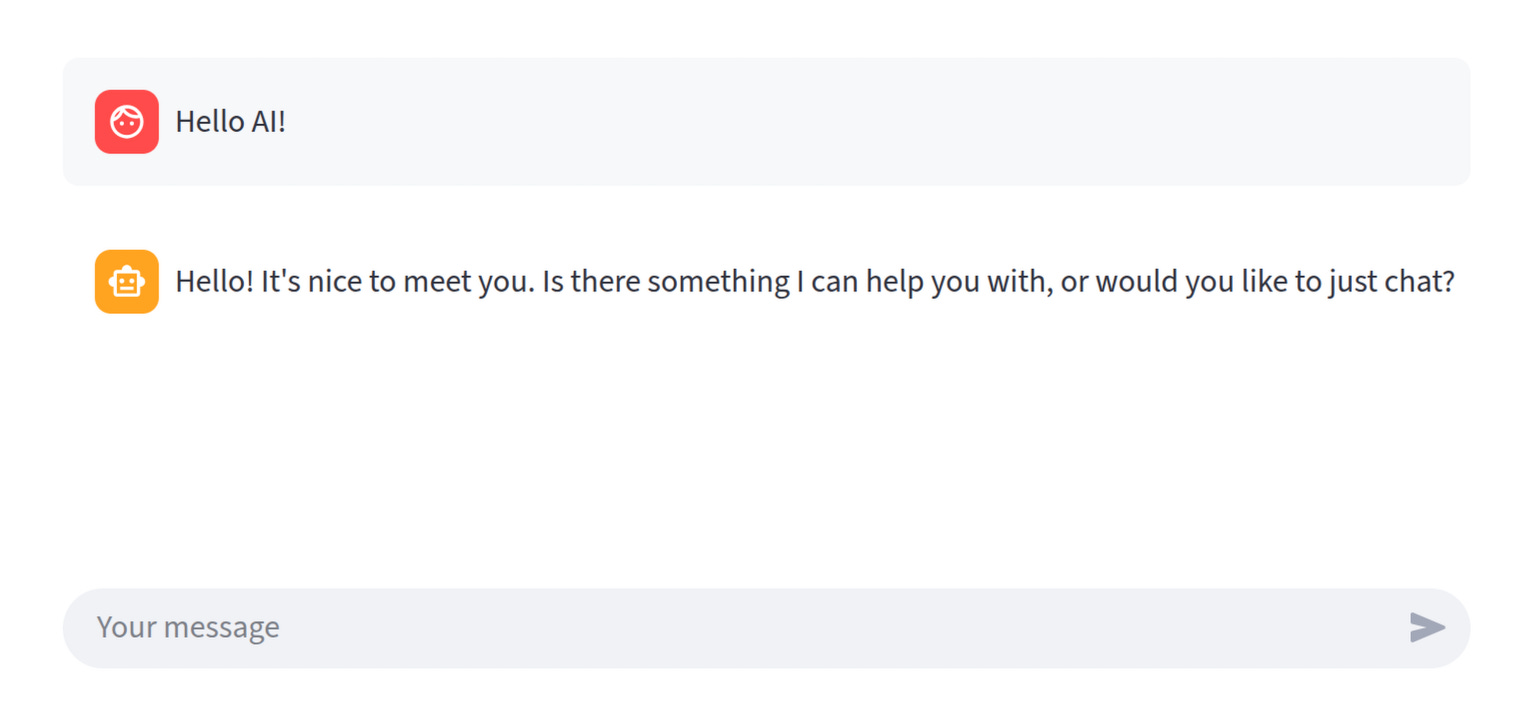
Let’s start outlining our first chatbot. We will use Streamlit’s builtin functionality to create a pretty decent chatbot UI in less than 10 lines of code. Here is the boilerplate code.
import streamlit as st

# import and setup OpenAI
<<setup_openai>>

# regenerate the conversation history
<<render_history>>

msg = st.chat_input()

if not msg:
    st.stop()

with st.chat_message(”user”):
    st.write(msg)

# code to actually call the LLM
<<invoke_llm>>

with st.chat_message(”assistant”):
    response = st.write(reply(msg))

# save the llm response
<<save_llm_response>>
About Literate Programming
You may have noticed the code above uses a somewhat weird notation, like <<setup_openai>>, which is not valid Python. This is because we are using a tool called illiterate to generate automatically the source code from the book content. This notation is how we reference snippets of code that will be defined later on.
This is a paradigm called Literate Programming that emphasizes narrative documentatiopn as the primary source, and the actual source is derived automatically, so that your documentation (this book) and your code are always synchronized
Don’t worry too much about it, just know that all these snippets will be explained in the remainder of this chapter. You’ll get the hang of it.
This completes the basic layout of a typical chatbot app. We still haven’t specified how to actually call the LLM provider, and how to manage the conversation history. We will do that in the remaining of this chapter.
Setting up an LLM provider
For all practical purposes, when you code a chatbot you consider the LLM as a black-box component that is, almost always, encapsulated behind a REST API. This lets you focus on building the app and forget about the extremely complex problem of serving, scaling, and monitoring an LLM in a production environment.
This is pretty much the same as when you use a production database, like MySQL, Postgre, or MongoDB, you almost never directly run the database server daemon. Instead, you almost certainly provision a managed server from Amazon, Azure, Google, or any other of the myriad cloud providers. In the same way, most of the time you won’t run an LLM locally, but instead use a cloud provider which has far better infrastructure.
By far, the most common API design used by all cloud LLM providers is the OpenAI API, which has become a de-facto standard. So, even if you don’t use OpenAI’s models directly (like GPT-5), you will almost certainly use the opena Python package to communicate with your LLM cloud provider, whoever they are.
In this book I will recommend OpenRouter, because they provide access to a huge range of models, and they deal with automatically routing to the optimal cloud provider. But you are free to choose whatever LLM provider you prefer, and as long as they give you an OpenAI-compatible API (and they all do), the rest of this book will work exactly the same for you.
Whatever you choose, you will need three things from your LLM provider:
A base URL (e.g.,
https://openrouter.ai/api/v1)An API key (e.g.,
sk-12345678...)A model identifier (e.g.,
meta-llama/llama-4-maverick:free)
Of these three, the API Key is the most important to keep safe (and secret) because it’s what the LLM provider will use to identify you (and thus charge you) for using their service. If this API Key ends up in a Github repository or somewhere public, someone might use it to impersonate you and thus deplete your credits or put you in a significant debt with your LLM provider.
TL;DR: Keep your API Key secret!
Once you have identified your LLM provider, you need to provide streamlit with the credentials and metadata indicated above. The best way to do this for a streamlit app is to use its native secrets management. You need to create a .streamlit folder, and place a secrets.toml file inside. There you can add the entries just as if they where environment variables.
# .streamlit/secrets.toml
api_key=”sk-12345678”
base_url=”https://openrouter.ai/api/v1”
model=”meta-llama/llama-4-maverick:free”
Needless to say, this secrets.toml file should be the first line in your .gitignore!
For the purpose of development and testing, you can use one of the many free models OpenRouter hosts, which give you enough daily uses for development purposes. Read more on the OpenRouter documentation. As a perhaps obvious disclaimer, I’m not associated with OpenRouter nor any part of this book is supported by them. I just think they provide a wonderful service for the AI developer community.
Once you’ve gotten your API key, you can use it to create an OpenAI client to interact with the LLM.
from openai import OpenAI

client = OpenAI(
    base_url=st.secrets.base_url,
    api_key=st.secrets.api_key,
)
And we’re ready to start sending some messages.
Calling the LLM
OpenAI’s client makes it very easy to invoke an LLM. We just need to pass in a list of messages and stream the result back to our Streamlit app. But before, we need to understand one key thing about LLM providers, and is the fact that they are stateless. This means you always have to pass the whole conversation to the API, because neither the actual model nor the server itself “remember” the conversation.
So, we will need to store the conversation in our application state. I’ll show you how to do this in just a second, but let’s assume we have it and move on to actually talking to the LLM.
In our app, we need to include the following method, which will stream the response from the LLM to the user.
<<store_conversation>>

def reply(msg: str):
    # retrieve the conversation list
    conversation = st.session_state.conversation

    for chunk in client.chat.completions.create(
        model=st.secrets.model,
        messages=conversation,
        stream=True,
    ):
        if msg := chunk.choices[0].delta.content:
            yield msg
That’s it. We just invoke client.chat.completions.create with the model name and conversation (a list of messages we will see right away) and stream the results back in the form of a Python generator. The st.write method in our main app is smart enough to produce a pretty typewriter animation as we receive the response one chunk at a time.
The conversation is actually stored in Streamlit’s builtin session storage, which is a dictionary-like object unique to each user session. This means that as long as we stay in the same browser tab, the conversation persists. Once we open another tab or hit F5, the session storage is cleaned up and we have a new conversation. Kind of brute, but for now it will do.
And this is the missing snippet to actually keep track of the conversation. We need to store the user message just after we get from the chat input widget:
if “conversation” not in st.session_state:
    st.session_state.conversation = []

st.session_state.conversation.append(dict(role=”user”, content=msg))
And we need to store the assistant reply message in the main loop after streaming it. Fortunately, the st.write method is smart enough so that it not only prints the message as it is streamed, but also returns the full concatenated message once the stream is closed.
st.session_state.conversation.append(
    dict(role=”assistant”, content=response)
)
As you’ve seen, we’re storing the messages in the format that the OpenAI API expects. This is a list of dictionaries, where each dictionary contains a role and a content key. The role (for now) can be either user or assistant, and it’s important we respect it because the models are trained to behave as if they are replying from the “assistant” perspective.
Rebuilding the conversation history
The final step to make our app a fully-fledged chatbot is to actually render the whole conversation in the UI. This is necessary because Streamlit works with an immediate execution paradigm, which effectively means every interaction cleans the whole screen and redraws the entire UI. Thus, every time the user enters a message, the UI restarts and we lose the previously rendered interaction.
Fortunately, as we have the conversation stored in the session state, we can simply iterate over it and render each message.
for msg in st.session_state.get(’conversation’, []):
    with st.chat_message(msg[’role’]):
        st.write(msg[’content’])
We just need a bit of care the first time we run the app because the conversation key won’t exist, that’s why we use get instead of a direct indexer.
Closing up
Phew! There you go, in around 50 lines of code (including comments and whitespace) we have a fully working chatbot. It’s very crude for now, all it does is send some messages to an LLM provider and stream the response back, but this is the foundation we can build upon to create all sorts of cool stuff.
In the next chapter we will rebuild this application from scratch but using an LLM framework that will give us much more flexibility later on.
Comments for Prof Morffis on How to Train Your Chatbot Chapter One
typos
You write that we won't use any additional libraries beyond openai. However, this example also uses streamlit.
uv
"thatl" -> "Astral"
use command "pip install uv" to install uv
"documentatiopn" should be "documentation"
"the opena Python package" -> the openai Python package
formatting
In your corresponding piece of code, the Python formatter changes single quote to double quote.
-- snip --
#after formatting
for msg in st.session_state.get("conversation", []):
with st.chat_message(msg["role"]):
st.write(msg["content"])
-- snip --
missing tags
Many of the code blocks in the article are missing their
<<tag-name>>
It is hard to type in the code from scratch based solely on the article because some of the code chunk tags are missing.
inconsistent terminology
Regarding the section of the article titled "rebuilding the conversation history" - does this correspond to the section of the code with the comment # <<regenerate the conversation history>>
Your terminology differs, between "rebuild" and "regenerate"
datatype mismatch
After I have re-assembled the program according to the article, I am left with one error
if msg := chunk.choices[0].delta.content:
The error is "incompatible types in assignment"
I am thinking the corrected code is:
-- code --
temp = chunk.choices[0].delta.content
if temp:
msg = temp
if msg:
yield msg
-- code --
missing run command
You might say that to run the app, use the command:
streamlit run basic.py